Lead Details
Introduction
The Lead Details and Timeline feature in CampX is a robust tool designed to track the entire lifecycle of a prospective student's engagement with your institution. It provides a centralized system to manage personal, academic, and interaction details, ensuring that the admissions team has a complete view of each lead's journey.This guide provides a step-by-step process for managing Lead Details and Timeline within the EnrollX Platform, facilitating structured student leads management.
Getting Started
To begin accessing Lead Details and Timeline, here’s how to navigate:

- Sign in to your CampX account and access EnrollX app.
- Click on the
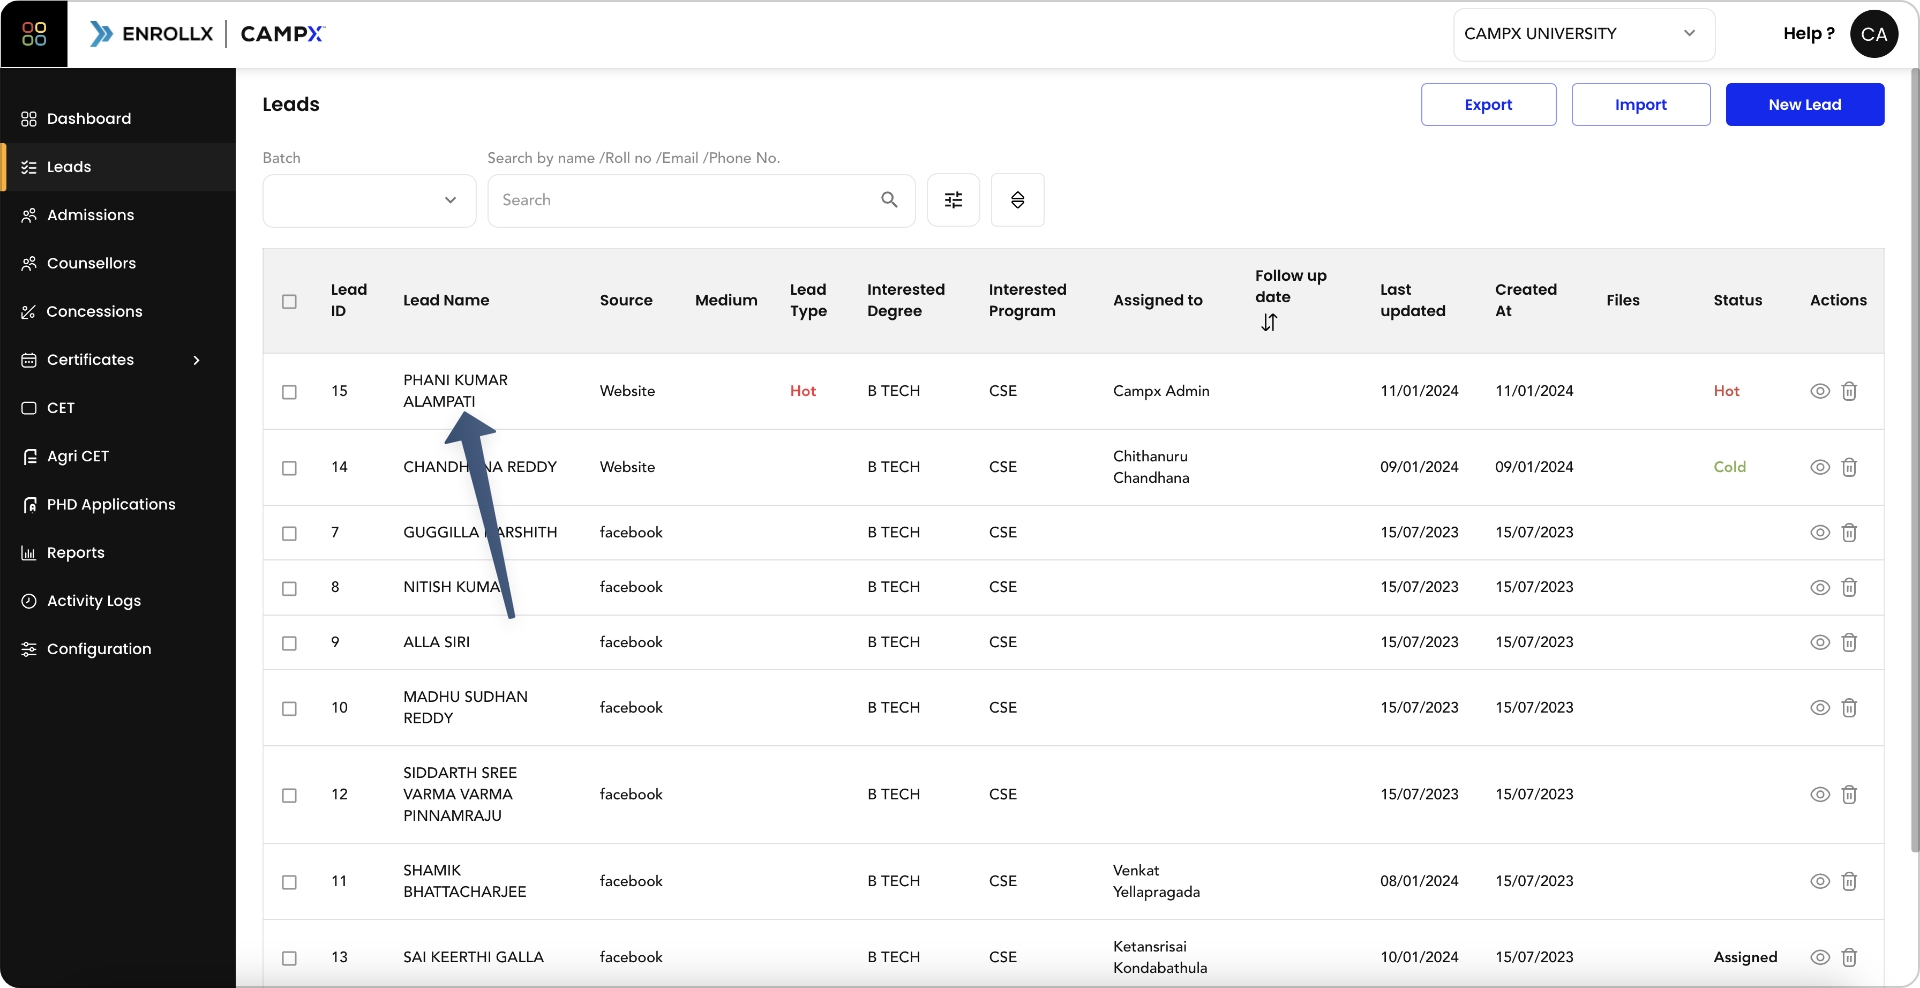
Leadssection in the EnrollX sidebar. - Click on the eye icon next to an individual
leadfrom the leads table.
Viewing and Using the Feature
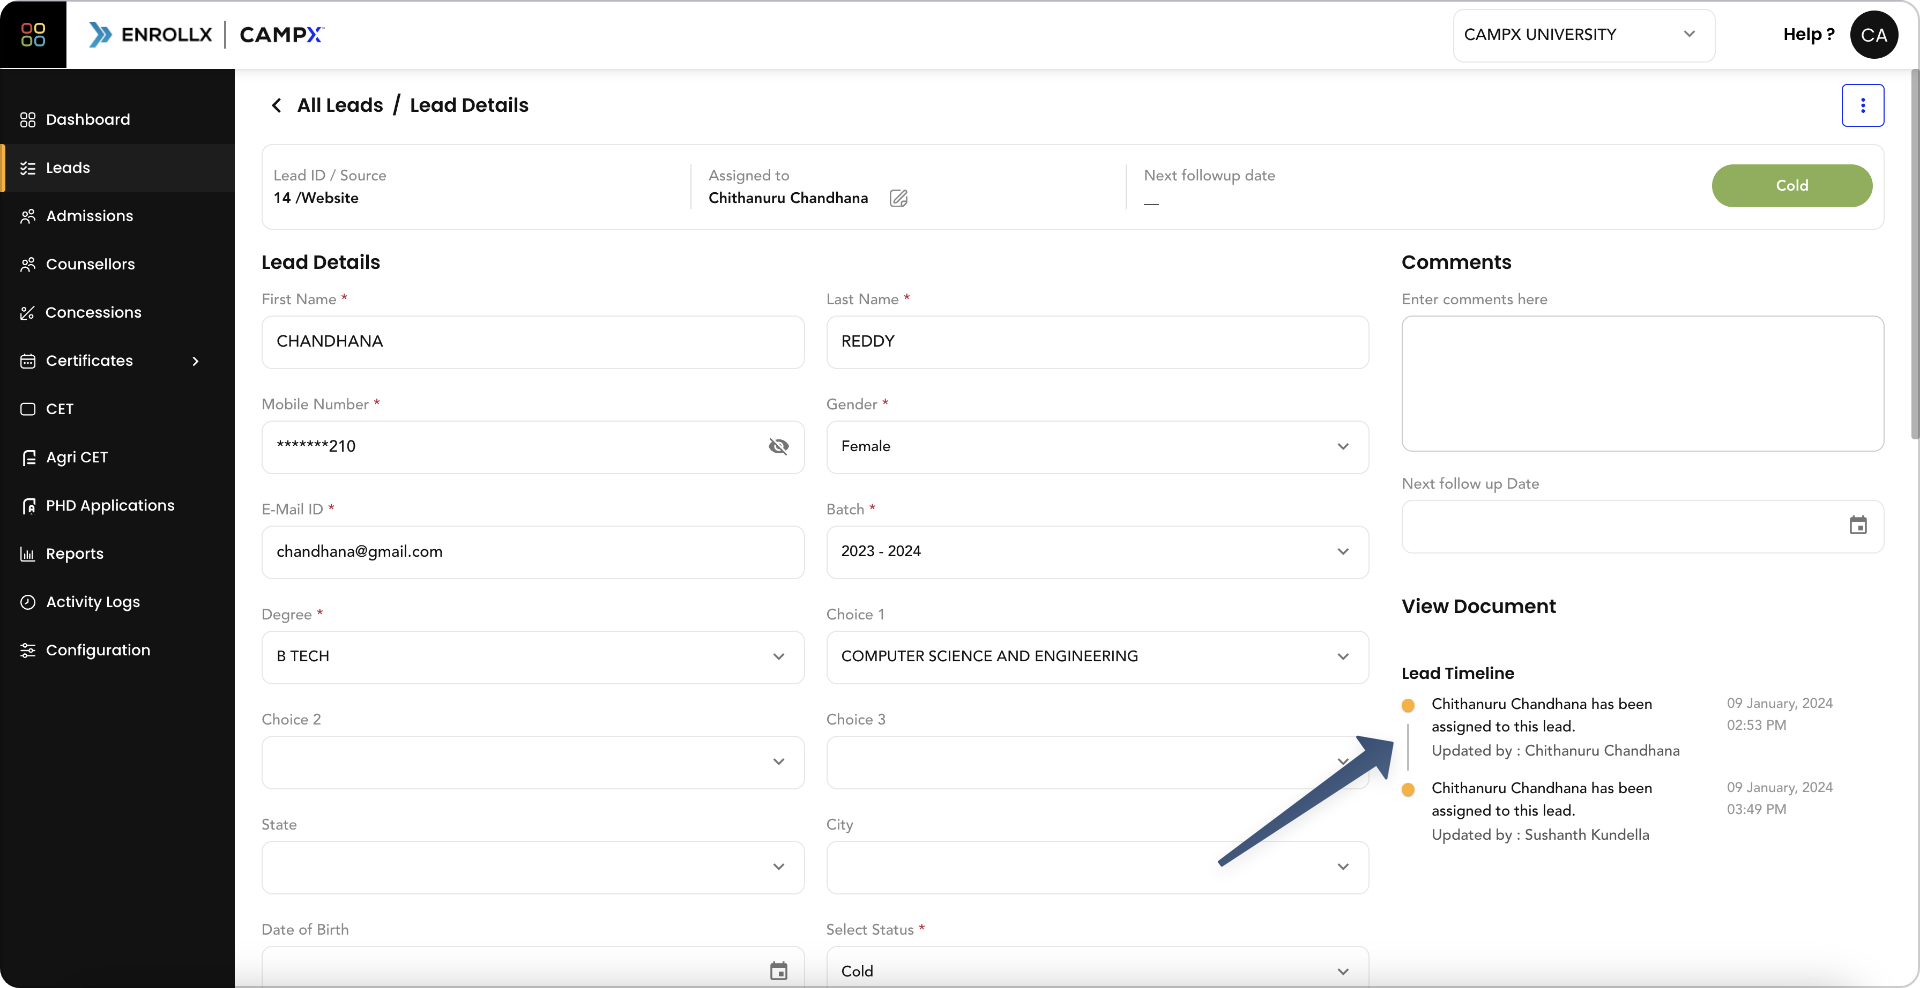
In the Lead Details section, you can see personal details, contact information, academic background, and the lead’s choices for courses. The timeline provides a chronological view of all interactions and updates made to the lead’s profile.
Performing Actions
Updation of Details:
- For Contact Information Update First Name, Last Name, Mobile Number, Gender, Date of Birth, Guardian Name, etc., click on the respective field and enter the new information.
- For Academic Preferences Update Batch, Degree, Choice 1, Choice 2, Choice 3, click on the respective field and select from the dropdown menu to update the data
- For Geograhic Information Update Country, State, City and Permanent Address select from the dropdown menu to update the data.
- For Lead Attributes Update Lead Status, Student Caste, and Lead Source by selecting the options updated in the Admissions Configuration section.
- For Academic Performance Update 10 + 2 Details and 10th Details including hall ticket numbers, boards, and marks information.
- Click on Save Changes button to update the changes for the respective lead.
- The Assigned Counsellor needs to update all the required mandatory details such as Gender, Batch, Comments.
- If you are facing an error while updating please check the input validation for Mobile Number, Email Address.
Lead Assignment to Counsellor:
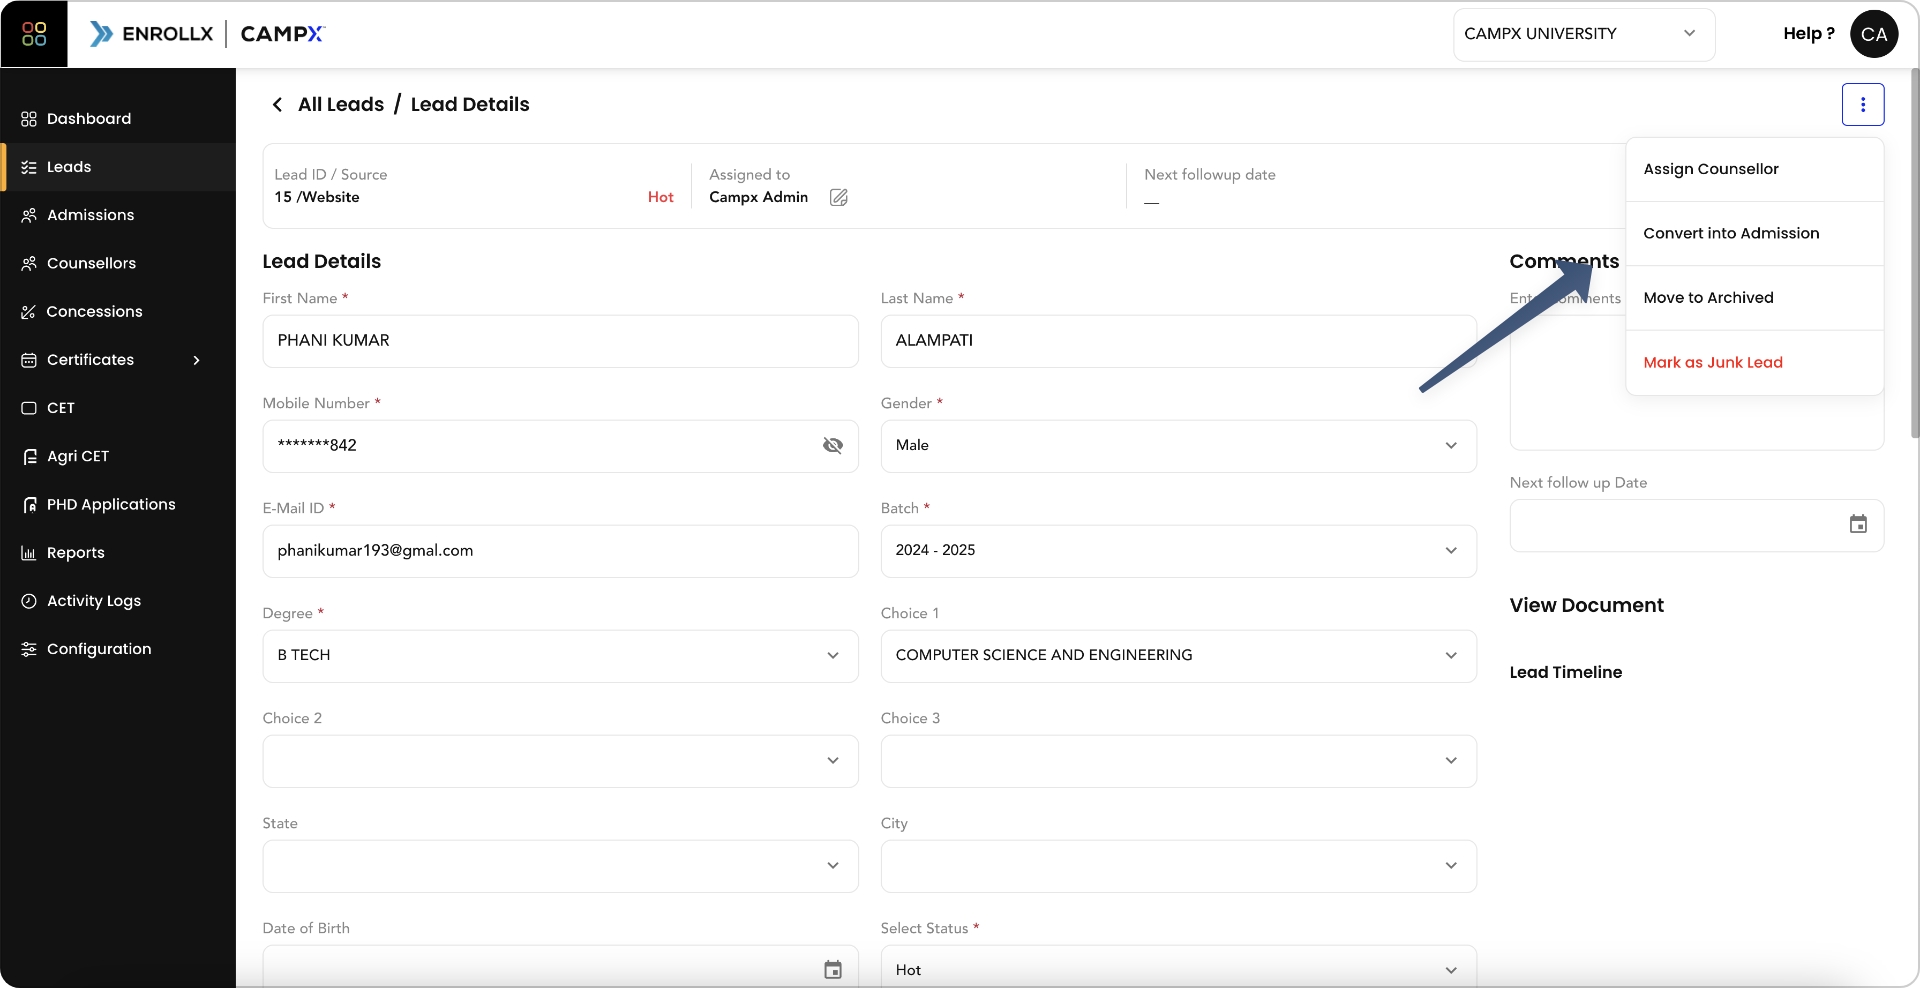
- Select
Assign Counsellorto allocate the lead to a specific admissions counsellor for follow-up.

Lead Timeline Updated by Counsellor:
- The Assigned Counsellor can update the timeline with notes on each interaction or milestone achieved in the lead’s progression.
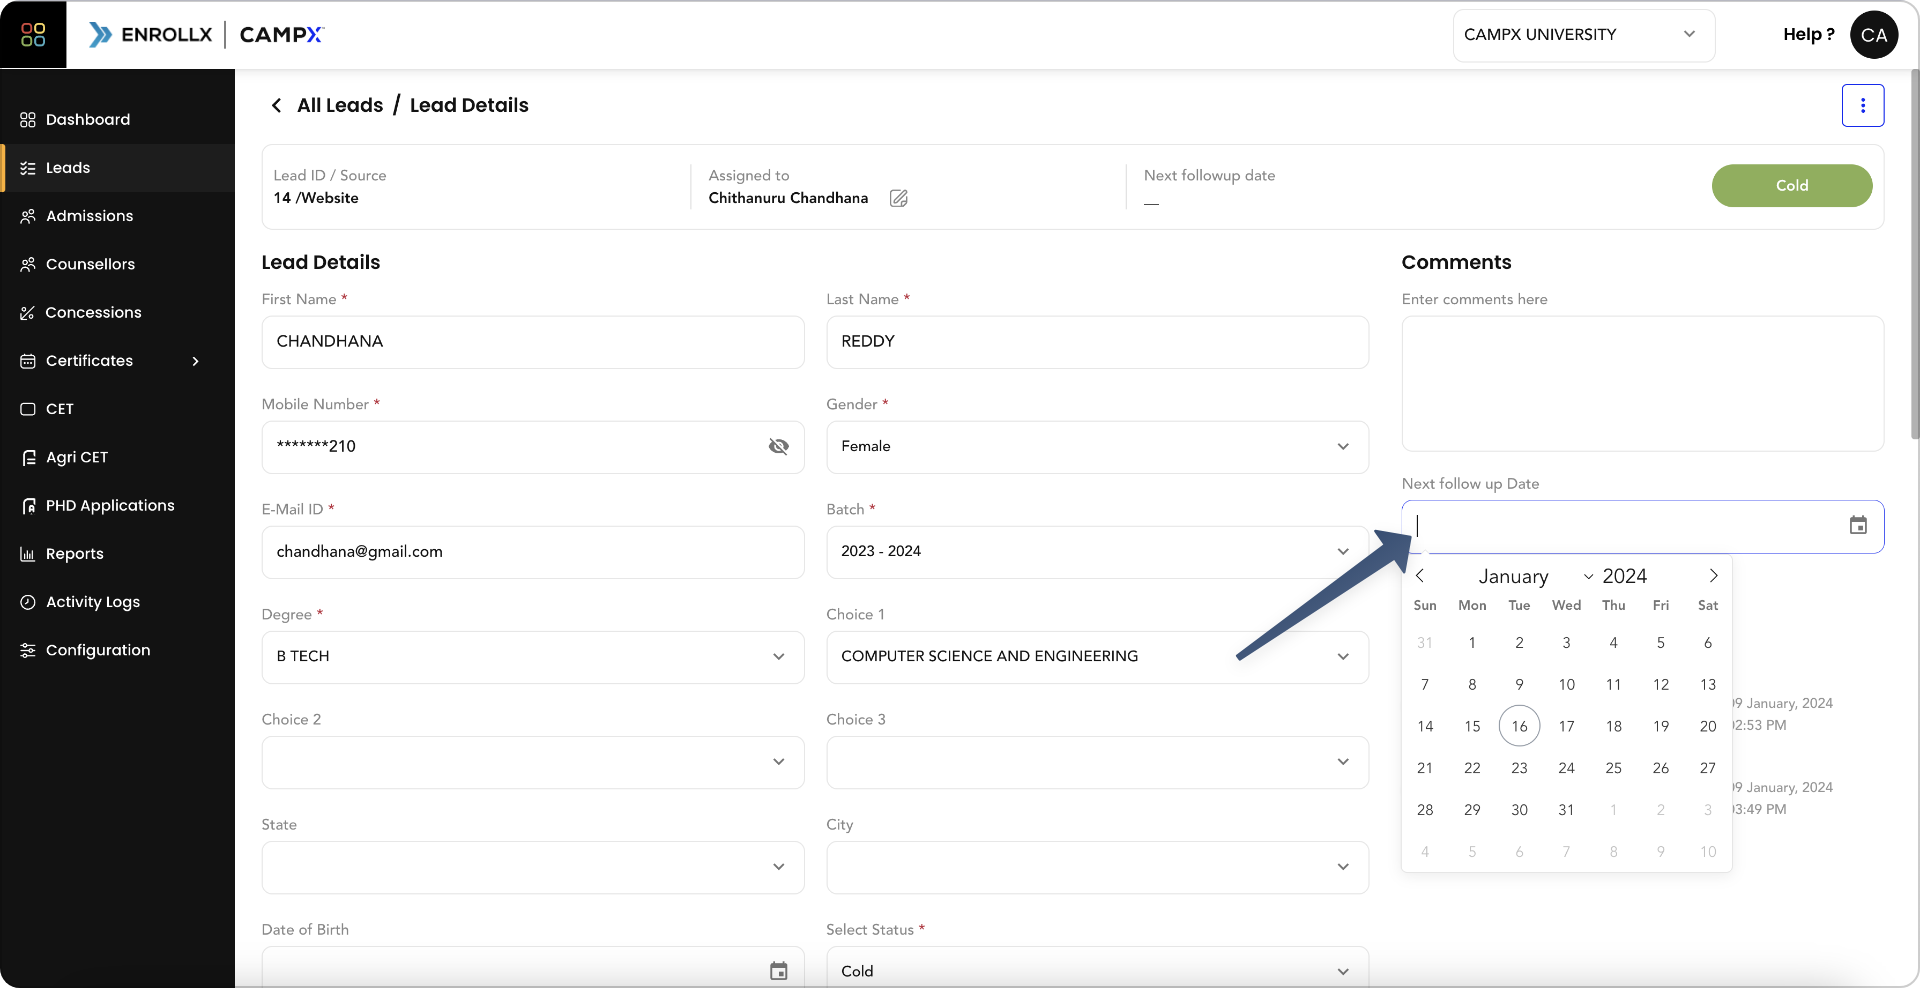
- The Assigned Counsellor can update the next
follow up dateassociated with thelead.

Convert Lead into Admissions:
The Assigned Counsellor can move the prospect lead into an admission by selecting the following details
- Batch: The
Batchfield refers to the specific group or time-frame in which the student will begin their studies - Quota: The
Quotafield refers to theAdmissions Quotaupdated in the admissions configuration - Admission Notification: This field is for the counsellor to specify the particular
Admission Notificationwhich the student is being admitted. - Counselling Phase: The "Counselling Phase" indicates the stage of the admission process. Institutions often have multiple rounds or phases of counselling for admissions, and this field is used to record which phase the student is admitted under (Phase 1, Phase 2, Phase 3, etc.)
- Lateral Entry: This checkbox indicates whether the student is being admitted through a lateral entry scheme. Lateral entry typically applies to students who are entering into the second year of study directly, often due to having completed a diploma or another course that allows them to bypass the first year.
- The Admissions Team needs to assign an Admissions Counsellor before moving a lead into an admission
- The Assigned Counsellor needs to update the
10 + 2 Detailsand10th Detailsbefore moving a lead into an admission.
Lead Actions:
- Archive Lead: For leads no longer active or relevant, click
Move to Archived. - Mark as Junk Lead: If a lead is identified as non-prospective or spam, choose
Mark as Junk Lead.

The Assigned Counsellor can click on Move to Archived or Mark as Junk Lead only after they update the Lead Status
Documents Upload Option for Lead:
The Assigned Counsellor can click on Upload File button to attach relevant documents to the lead’s profile for easy access and reference.
Custom Fields:
Any additional information required can be included via custom fields in the lead form, which our team can customize as per your institution requirements.
For additional support, you can raise a ticket about Customising Student Attributes by clicking on this link EnrollX Support.
Utility of the Feature for Lead Details and Timeline
This feature is crucial for tracking the admissions pipeline and ensuring that all prospective student interactions are recorded and actioned appropriately. It enables the admissions team to maintain a high level of organization and efficiency while providing a personalized experience for each lead.
Support and Assistance:
For any additional support or questions regarding the Lead Details and Timeline feature, please consult our CampX Support Docs for detailed guides and FAQs. The EnrollX support team is also available to provide personalized assistance, ensuring you can fully utilize the capabilities of the CampX platform for your admissions needs. For guidance or queries, access our support docs via CampX Support Docs.